


By Jay Newton, Director · Updated March 2026
Packing a removal van is not just about fitting everything in. It is about loading in the right order, distributing weight properly, protecting your belongings from damage, and making sure the van is safe to drive. Get it wrong and you risk broken furniture, damaged walls, and — in the worst case — an overloaded van that handles dangerously on the road.
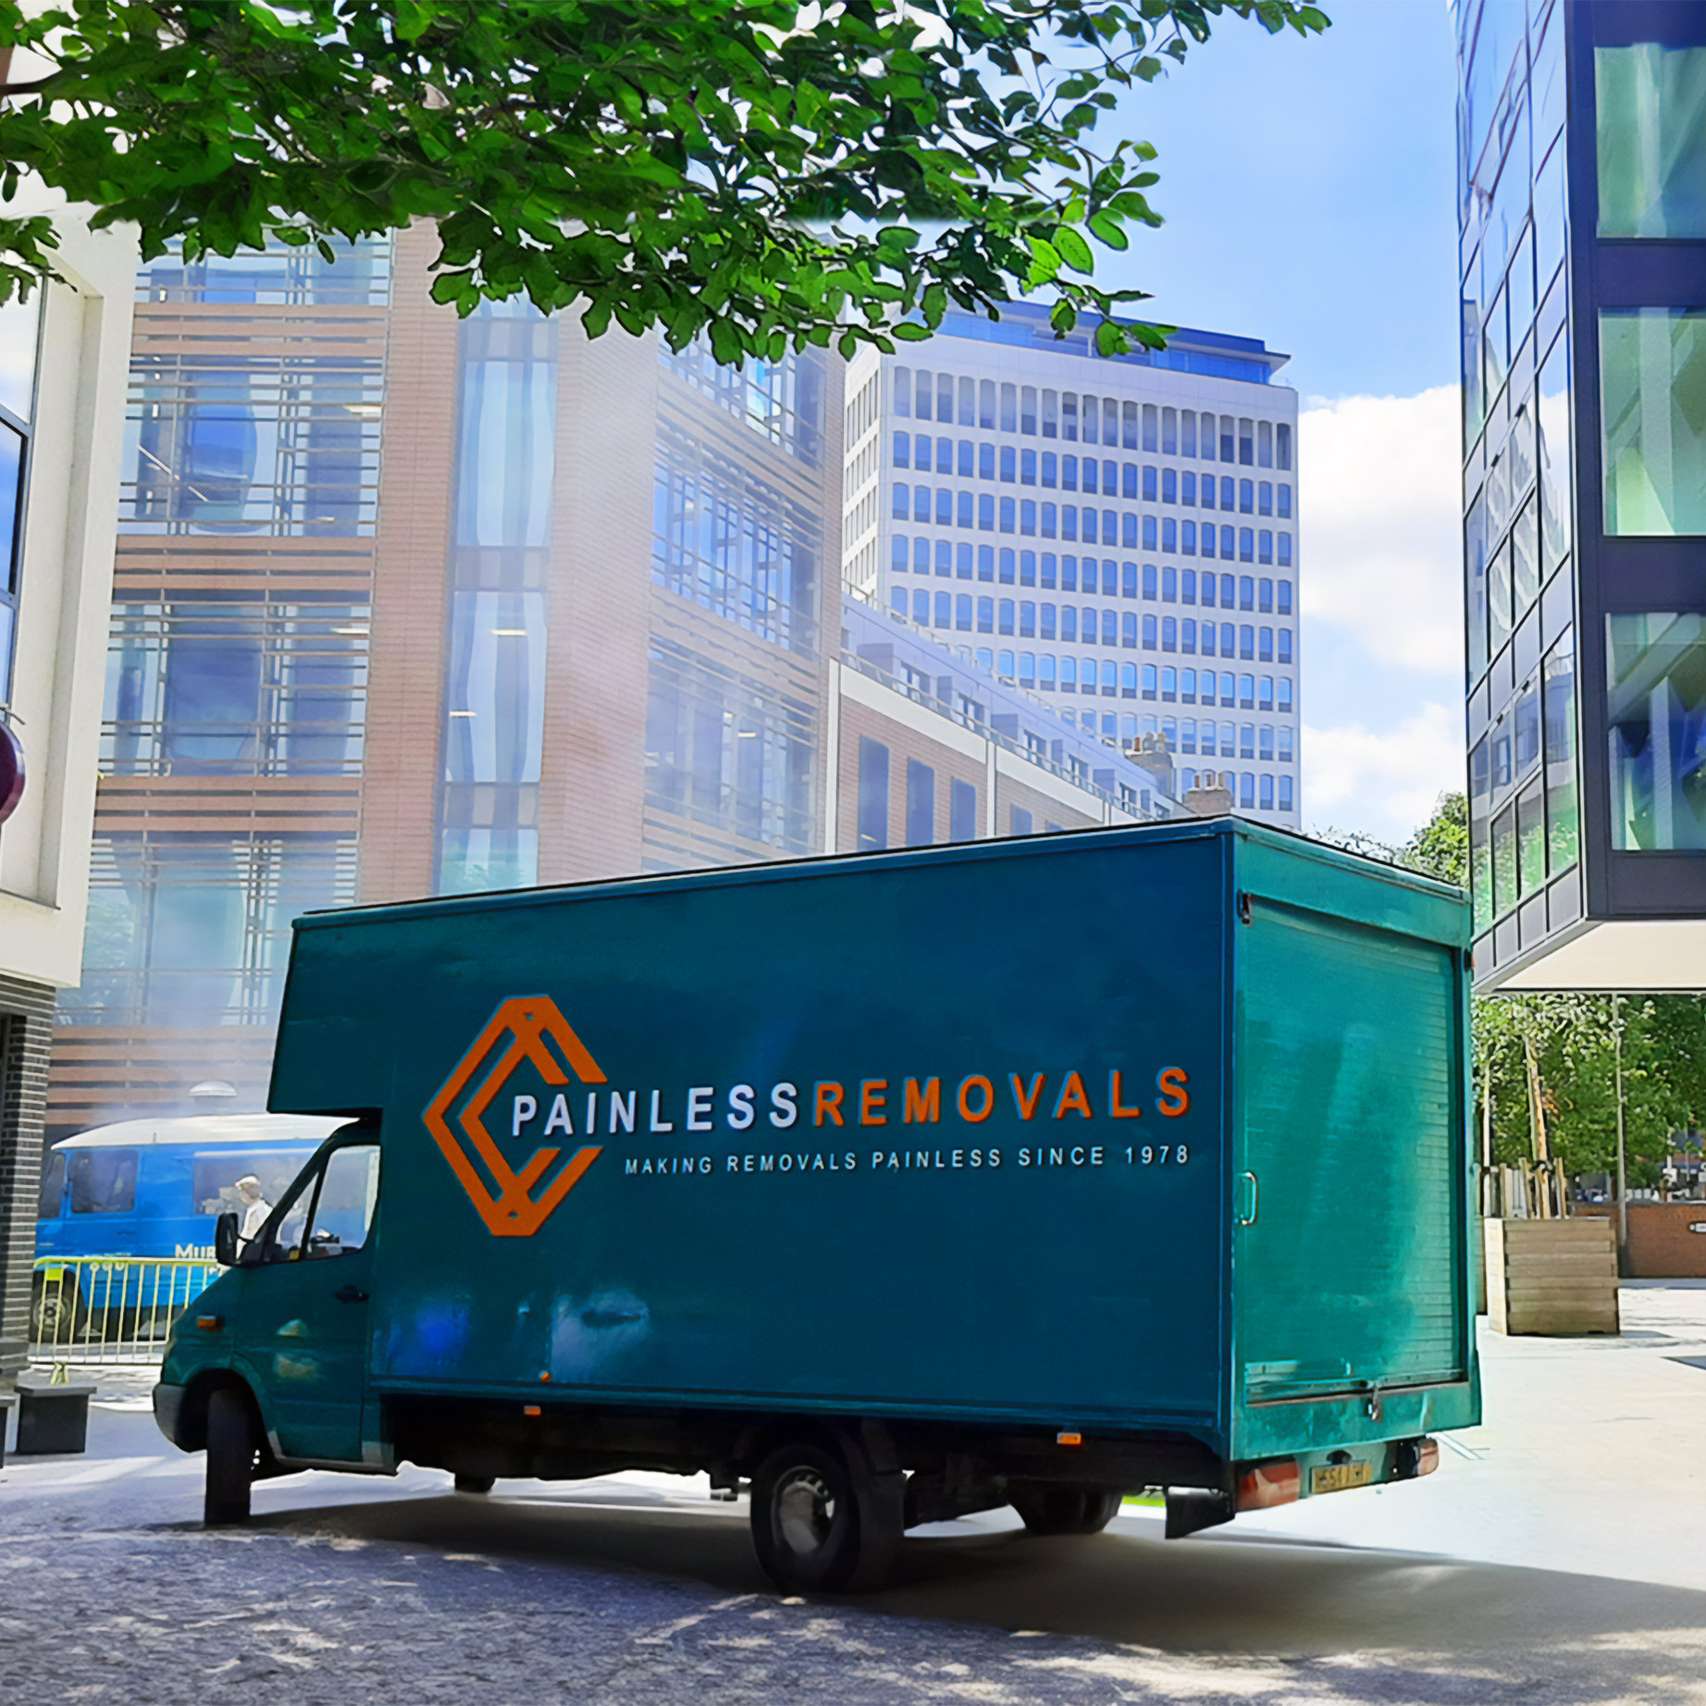
After more than 45 years of loading removal vans across Bristol and the South West, our team has packed thousands of homes. This guide shares the exact approach our crews use every day — the loading sequence, the weight rules, the professional equipment, and the tricks that keep your belongings safe from door to door. Whether you are loading your own hire van or want to understand what a professional removal crew does and why, everything you need is here.
Before You Start Loading
Choose the Right Size Van
The single most common mistake people make is hiring a van that is too small. An overloaded van is illegal, dangerous, and means you will need two trips — doubling your fuel costs and your stress levels. As a rough guide:
- Studio or 1-bed flat — large transit van (3.5 tonne, roughly 14 cubic metres)
- 2-bed flat or small house — Luton van (3.5 tonne, roughly 18–20 cubic metres)
- 3-bed house — 7.5-tonne truck (roughly 30 cubic metres)
- 4-bed+ house — 18-tonne removal truck or multiple trips
If you are between sizes, always go up. The cost difference is typically small, and the stress difference is enormous.
Sort Your Stuff Before Loading
Professional crews always do a walk-through before loading. Before a single item goes on the van, they have assessed the volume, identified the heavy and awkward items, and mentally mapped the loading order. You should do the same.
Group items by weight and fragility. Heavy items (appliances, book boxes, tool boxes) in one area. Fragile items (mirrors, screens, glassware) together. Soft items (duvets, cushions, bin bags of clothes) in another pile. This makes loading much faster because you know exactly what goes where without rummaging through everything.
Equipment You Need for Loading a Van
The right equipment does not just make loading faster — it makes it safer. For your belongings and for your body. Here is what a professional removal van carries, and what you should have for a DIY load:
Removal Blankets
Thick, quilted padded blankets that go around every piece of furniture. A standard removal van carries 10 to 20 blankets. They protect surfaces from scratches, absorb impacts, and prevent items from rubbing against each other during the journey. They are the single most important piece of equipment on the van. Old duvets work as a substitute for DIY moves.
Ratchet Straps and Load Bars
Ratchet straps anchor the load to the van walls and floor — you need at least four. Load-locking bars span the width of the van and act as bulkheads, preventing the load from shifting forward during braking. A well-loaded van uses both — straps for individual tall items and load bars to section the van into stable compartments. If your hire van does not have load bars, ropes tied tightly across the load serve the same purpose.
Trolleys and Sack Barrows
A piano trolley (also called a skid) has four swivel wheels and can carry an entire wardrobe or fridge across a flat surface. A sack barrow is used for stacks of boxes and smaller heavy items. These tools are essential for protecting both your belongings and your back — carrying a washing machine down a flight of stairs is a back injury waiting to happen.
Shrink Wrap
Industrial-grade stretch wrap goes over blankets to hold them in place and provide a waterproof outer layer during loading and unloading. It is also used to wrap sofas and mattresses to protect upholstery from dirt and rain. Never apply shrink wrap directly to polished wood — it can leave marks.
The Rest
- Rope — for tying down loads and securing items to anchor points
- Cardboard corner protectors — for wardrobes, dressers, and tables
- Mattress bags — sealed bags that keep mattresses clean and dry
- A loading ramp — essential for wheeling heavy items into the van safely
The Loading Order: What Goes On First
Loading a van is like building a wall — you start with the heaviest, sturdiest items at the bottom and back, then work forward and upward with progressively lighter items. Professional crews think in horizontal layers, not vertical stacks. Here is the sequence our removal teams follow:
Layer 1: Heavy Appliances Against the Bulkhead
Washing machines, tumble dryers, dishwashers, and fridges go in first, pushed right against the bulkhead (the wall behind the cab). These are your heaviest items, and you want them low and forward for safe weight distribution. Stand fridges and freezers upright. Wrap washing machines in a blanket and make sure the drum is secured — an unsecured drum will damage the machine in transit. Each appliance is strapped individually.
Layer 2: Large Furniture Along the Walls
Wardrobes, dressers, bookcases, sideboards, and dining tables go next, along the van walls. The walls provide lateral support, and tight packing prevents sideways movement. Stand sofas on their ends to save floor space — a three-seater sofa takes up half the floor space standing on its end compared to lying flat. Disassemble anything you can — remove table legs, take drawers out of dressers, and separate bed frames. Keep all bolts and screws in labelled bags taped to the furniture.
Layer 3: Mattresses and Bed Bases
Stand mattresses on their side against the van wall. They act as a giant cushion protecting whatever is beside them. Divan bed bases can also stand on their ends. Wrap both in shrink wrap to keep them clean. Use a ratchet strap to stop them falling forward during the journey.
Layer 4: Boxes Fill the Centre
Once the furniture creates the structural framework around the edges, boxes fill the centre. Heavy boxes (books, kitchenware) on the bottom, medium boxes in the middle, light boxes (bedding, soft items) on top. Never stack boxes more than four or five high — beyond that, the bottom boxes buckle. Interlock boxes like bricks rather than stacking them in neat columns — interlocked stacks are far more stable.
Layer 5: Fragile and Odd-Shaped Items Last
Mirrors, artwork, televisions, and lamps go in last, in the most protected positions. They sit upright, surrounded by boxes and soft items, near the back of the van where they are accessible and will not be crushed. The crew leader personally places these items and checks they cannot move before closing the doors.
Rather We Packed the Van for You?
Get a free quote in under 47 seconds. Fully insured, professionally loaded.
Get Your Free QuoteWeight Distribution: Why It Matters
A badly loaded van is a dangerous van. If the weight is too far back, the front wheels lose grip — steering becomes vague and braking distances increase dramatically. If the weight is all on one side, the van leans and handles unpredictably, especially on roundabouts and motorway slip roads.
The Golden Rules
- 60% of the weight forward, 40% rearward. The heaviest items should be as close to the cab as possible.
- Balance left and right. If you put a washing machine on the left, put something equally heavy on the right.
- Keep the centre of gravity low. Heavy items on the floor, never on top of light items.
- Fill every gap. Gaps allow things to shift during braking and cornering. Stuff soft items, blankets, and cushions into every space.
- Secure the load. Use ratchet straps at multiple points. A single strap across the back is not enough — use at least one strap per metre of height.
If the van feels unstable when you pull away, stop and redistribute the load before driving any further. A few minutes repacking is far better than an accident on the motorway.
Protecting Your Belongings in Transit
Damage during a move is almost always caused by one of two things: items rubbing against each other or items shifting when the van brakes, accelerates, or turns. Eliminate both and your belongings will arrive in the same condition they left.
Furniture
Wrap every piece of furniture in a removal blanket or old duvet. Pay particular attention to corners and edges — a wooden corner can scratch a leather sofa, and a sofa arm can dent a wooden dresser. Use corner protectors on tables, wardrobes, and chests of drawers. Tape drawers and doors shut so they do not swing open during the journey.
Televisions and Monitors
If you still have the original box, use it — the polystyrene inserts are designed for exactly this purpose. If not, wrap the screen in a blanket and stand it upright between two mattresses or against a flat, padded surface. Never lay a TV flat on its back with items stacked on top — even a light box on a screen can crack it.
Mirrors and Glass
Apply masking tape in an X across the glass — this does not prevent cracks, but stops the glass shattering into dangerous shards if it does break. Wrap in bubble wrap, then sandwich between two sheets of cardboard. Transport mirrors and pictures standing upright — never flat. Mark them clearly as fragile.
Boxes
Use double-walled boxes and do not overload them. A box you cannot comfortably lift with two hands is too heavy. Tape the bottom with an H-pattern (one strip along the seam, one strip across each end) for maximum strength. Fill every box to the top — half-full boxes collapse when stacked.
Securing the Load for Transit
A perfectly packed van that is not properly secured will arrive as a jumbled mess. Securing the load is the step most DIY movers skip — and it is the step that prevents the most damage.
The Ratchet Strap Method
Professional crews use ratchet straps attached to the van's built-in anchor points. Tall items (wardrobes, fridges, mattresses) each get their own strap. The strap goes around the item and connects to anchor points on opposite sides of the van, pulling the item tight against the wall. A well-strapped load should not move at all when you push against it with your full body weight.
Filling Every Gap
The final step is filling every remaining gap with soft items — bin bags of clothes, cushions, pillows, duvets, and blankets. This turns the entire load into a single solid mass with no room for movement. Our crews call this "packing to the roof" — when the van doors close, every cubic centimetre is accounted for. A van packed this way can brake hard, corner sharply, and go over speed bumps without anything shifting.
How to Handle Special Items
Pianos
An upright piano weighs 150 to 300 kilograms and has a high centre of gravity. It requires a piano trolley, a ramp, at least three people, and straps rated for the weight. It goes against the bulkhead, as low as possible, and is strapped to the van at multiple points. Grand pianos need specialist piano movers — the legs are removed, the lid is secured, and the body is placed on a piano board before being wrapped, strapped, and loaded.
Antiques and High-Value Items
Antiques receive extra layers of protection: acid-free tissue paper against the surface (to prevent any chemical reaction with packing materials), then bubble wrap, then a removal blanket, then shrink wrap to hold everything in place. They are positioned in the van where nothing can touch them or fall against them.
Plants
Houseplants travel best in open-topped boxes with damp newspaper around the pot to stop it tipping. They should be loaded last and unloaded first. In winter, avoid leaving them on a cold van for extended periods. Legally, removal companies can transport houseplants, but they are not covered by standard removal insurance because they are living things.
The Most Common Van-Packing Mistakes
After thousands of moves, we see the same problems again and again. Avoid these and your move will go significantly more smoothly:
- × Loading the van in room order instead of weight order. People naturally start with whichever room is nearest the front door. But if that is the living room full of light cushions and DVDs, those items end up at the back of the van where the heaviest items should be. Always sort by weight first, room second.
- × Not using straps. "It's only a short drive" is the last thing people say before their wardrobe falls over and crushes a box of wine glasses. Strap the load. Every time. Even for a one-mile trip.
- × Leaving gaps. An inch of space between items becomes a foot of movement when the van brakes hard. Fill every gap with blankets, cushions, pillows, or bin bags of soft items.
- × Stacking heavy on light. A box of books on top of a box of lampshades is a crushed box of lampshades. Heavy items at the bottom, always.
- × Forgetting the essentials box. Pack a box with your kettle, mugs, phone chargers, toilet roll, snacks, and basic cleaning supplies. Load it last so it comes off the van first — or better still, keep it in the car.
DIY Van Loading vs Hiring a Professional Crew
Packing your own van makes sense for small moves — a student flat, a one-bed apartment, or a few pieces of furniture. But for a full house move, the economics and the risk profile change quickly.
| DIY | Professional | |
|---|---|---|
| Speed | 4–6 hours (3-bed) | 2–3 hours (3-bed) |
| Equipment | Need to hire/buy | Included |
| Insurance | Your responsibility | Goods in transit cover |
| Risk of damage | Higher | Lower |
| Physical strain | Significant | None for you |
| Typical cost (2–3 bed) | £100–£250 + time | £400–£800 |
The hidden cost of DIY is your time and your risk. A back injury on moving day costs you weeks of work. A scratched bannister costs hundreds to repair. A dropped TV costs the price of a new one. None of these are covered when you do it yourself.
A popular middle ground is to pack your own boxes over two weeks, then hire professionals to load the van, drive, and unload. You save money on the packing labour while still getting the expertise and insurance for the heavy, risky part of the move.